The Value of a Tiny Dot
A post more about photography than photographs, today.
I like, on occasion, to try a focus stack. I do them external to the camera (I know some cameras do it ‘in house’ now but not Sony).
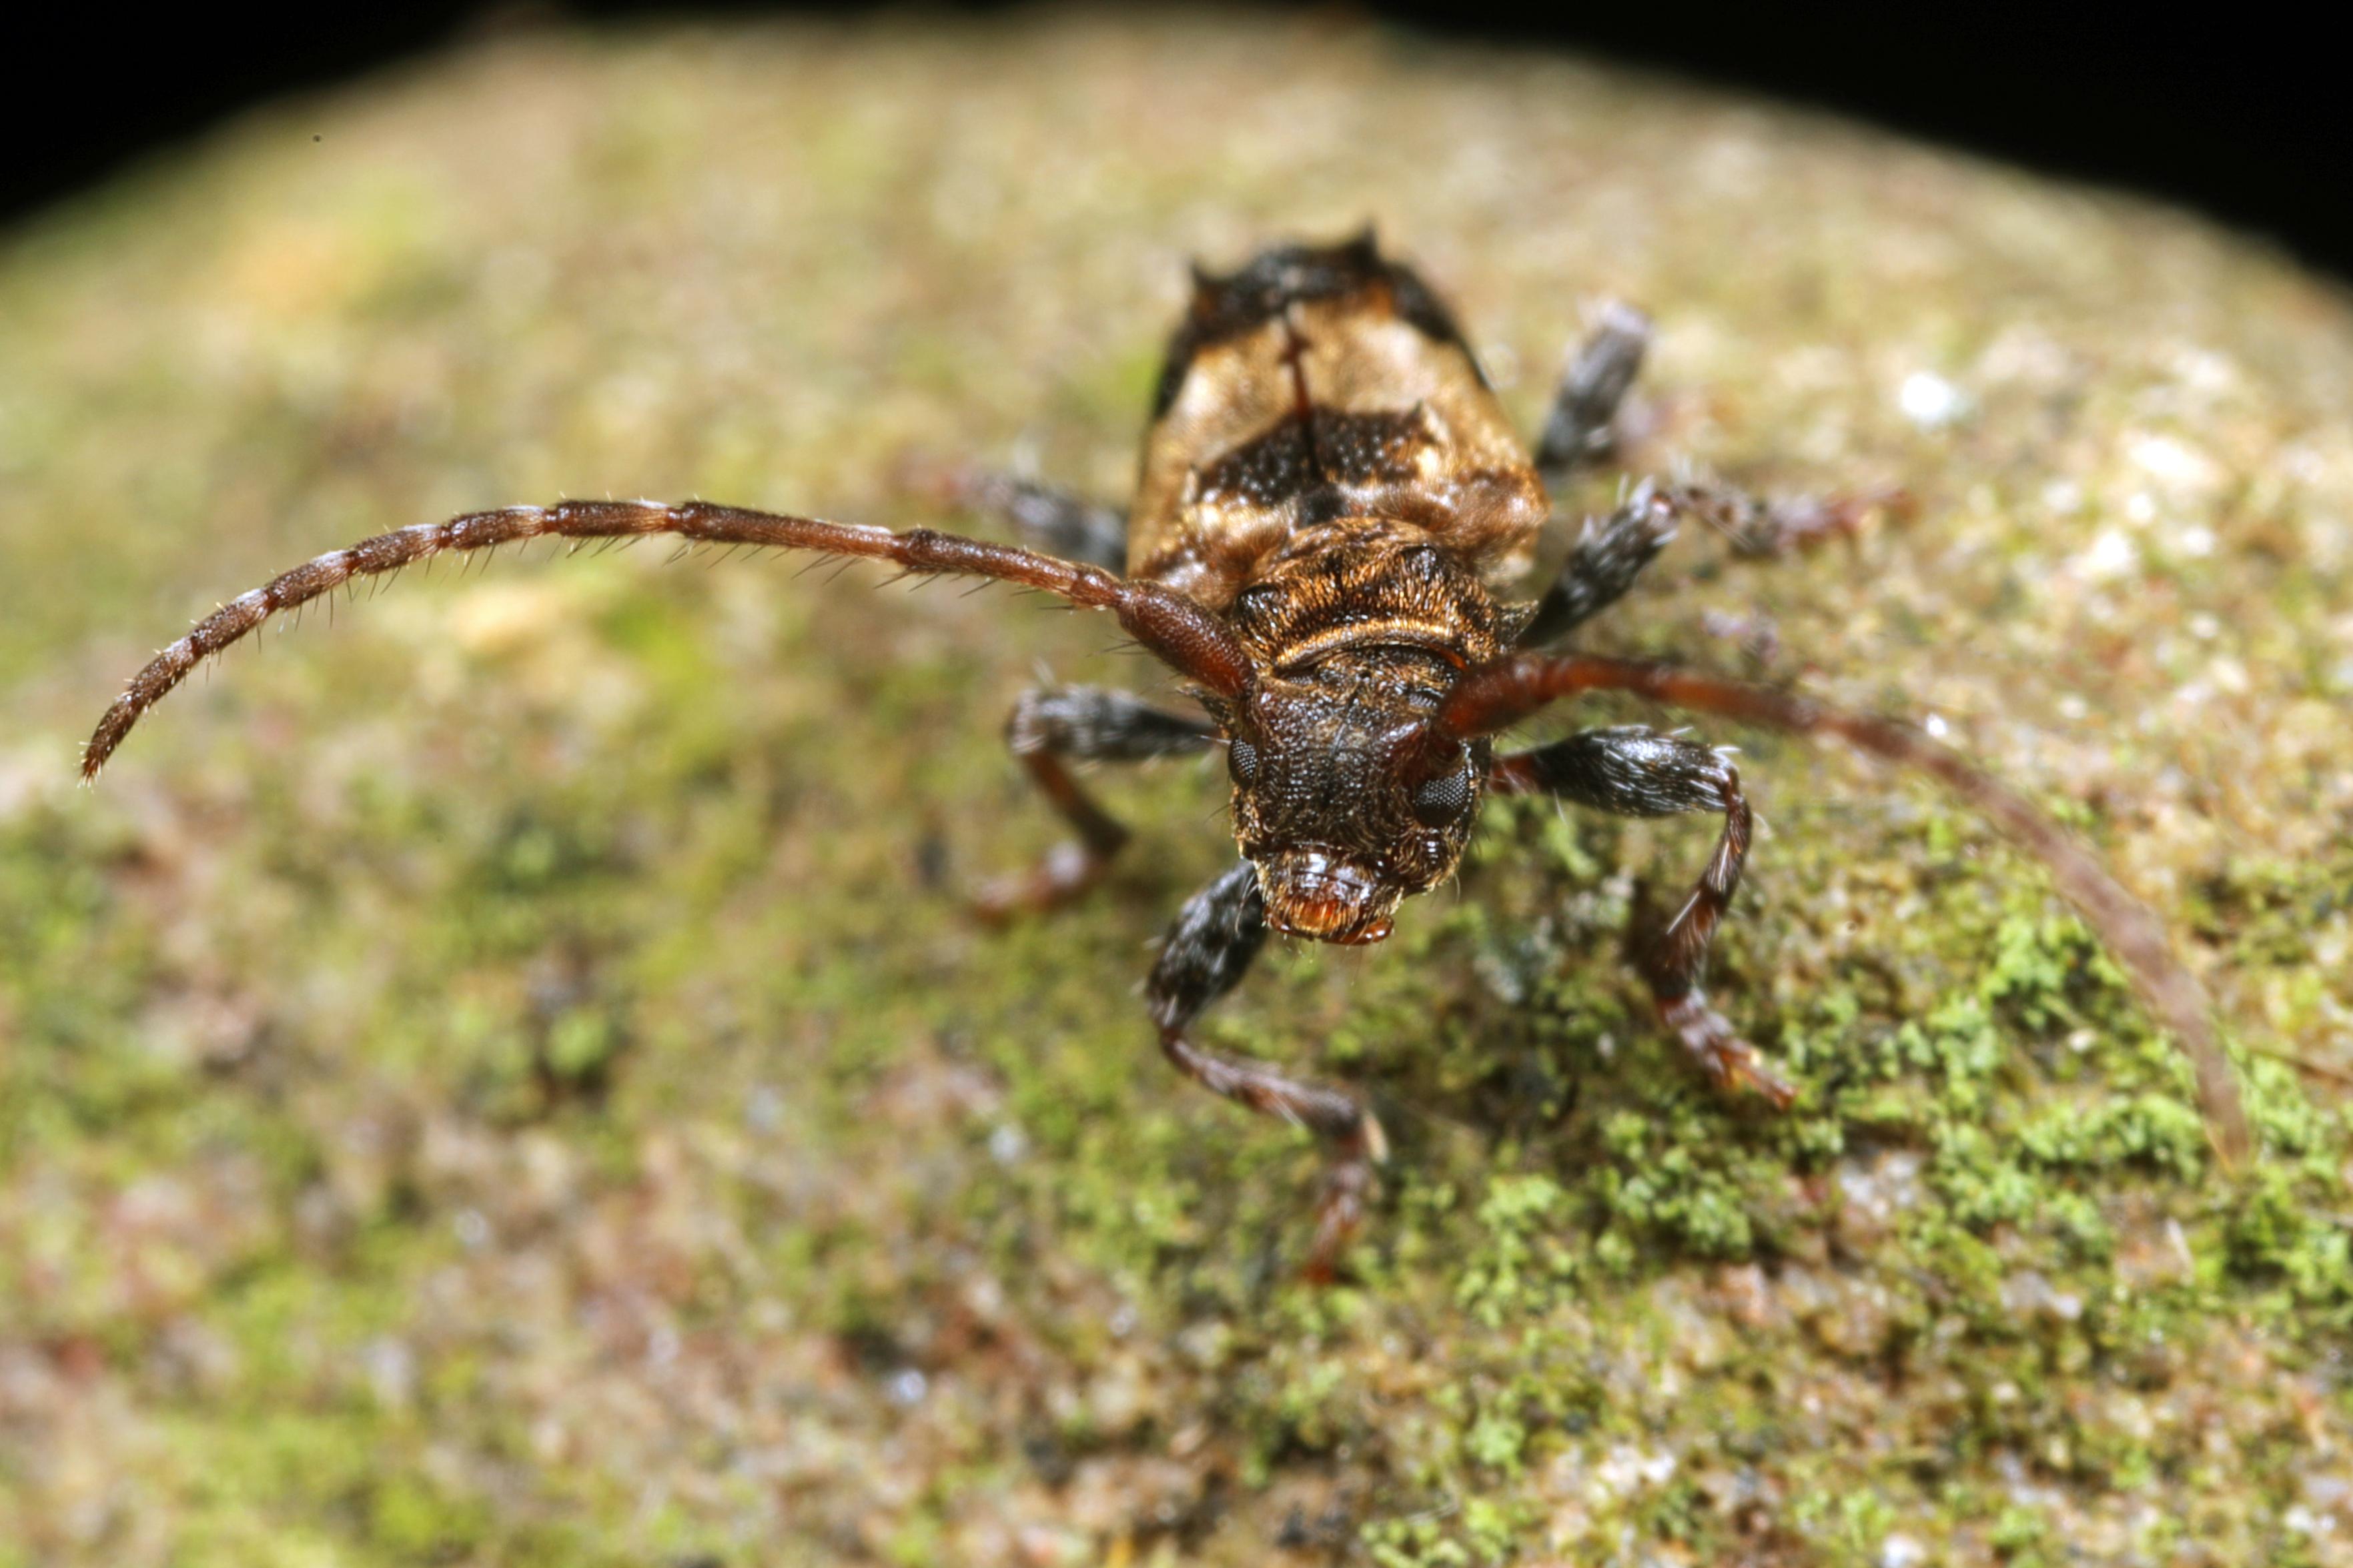
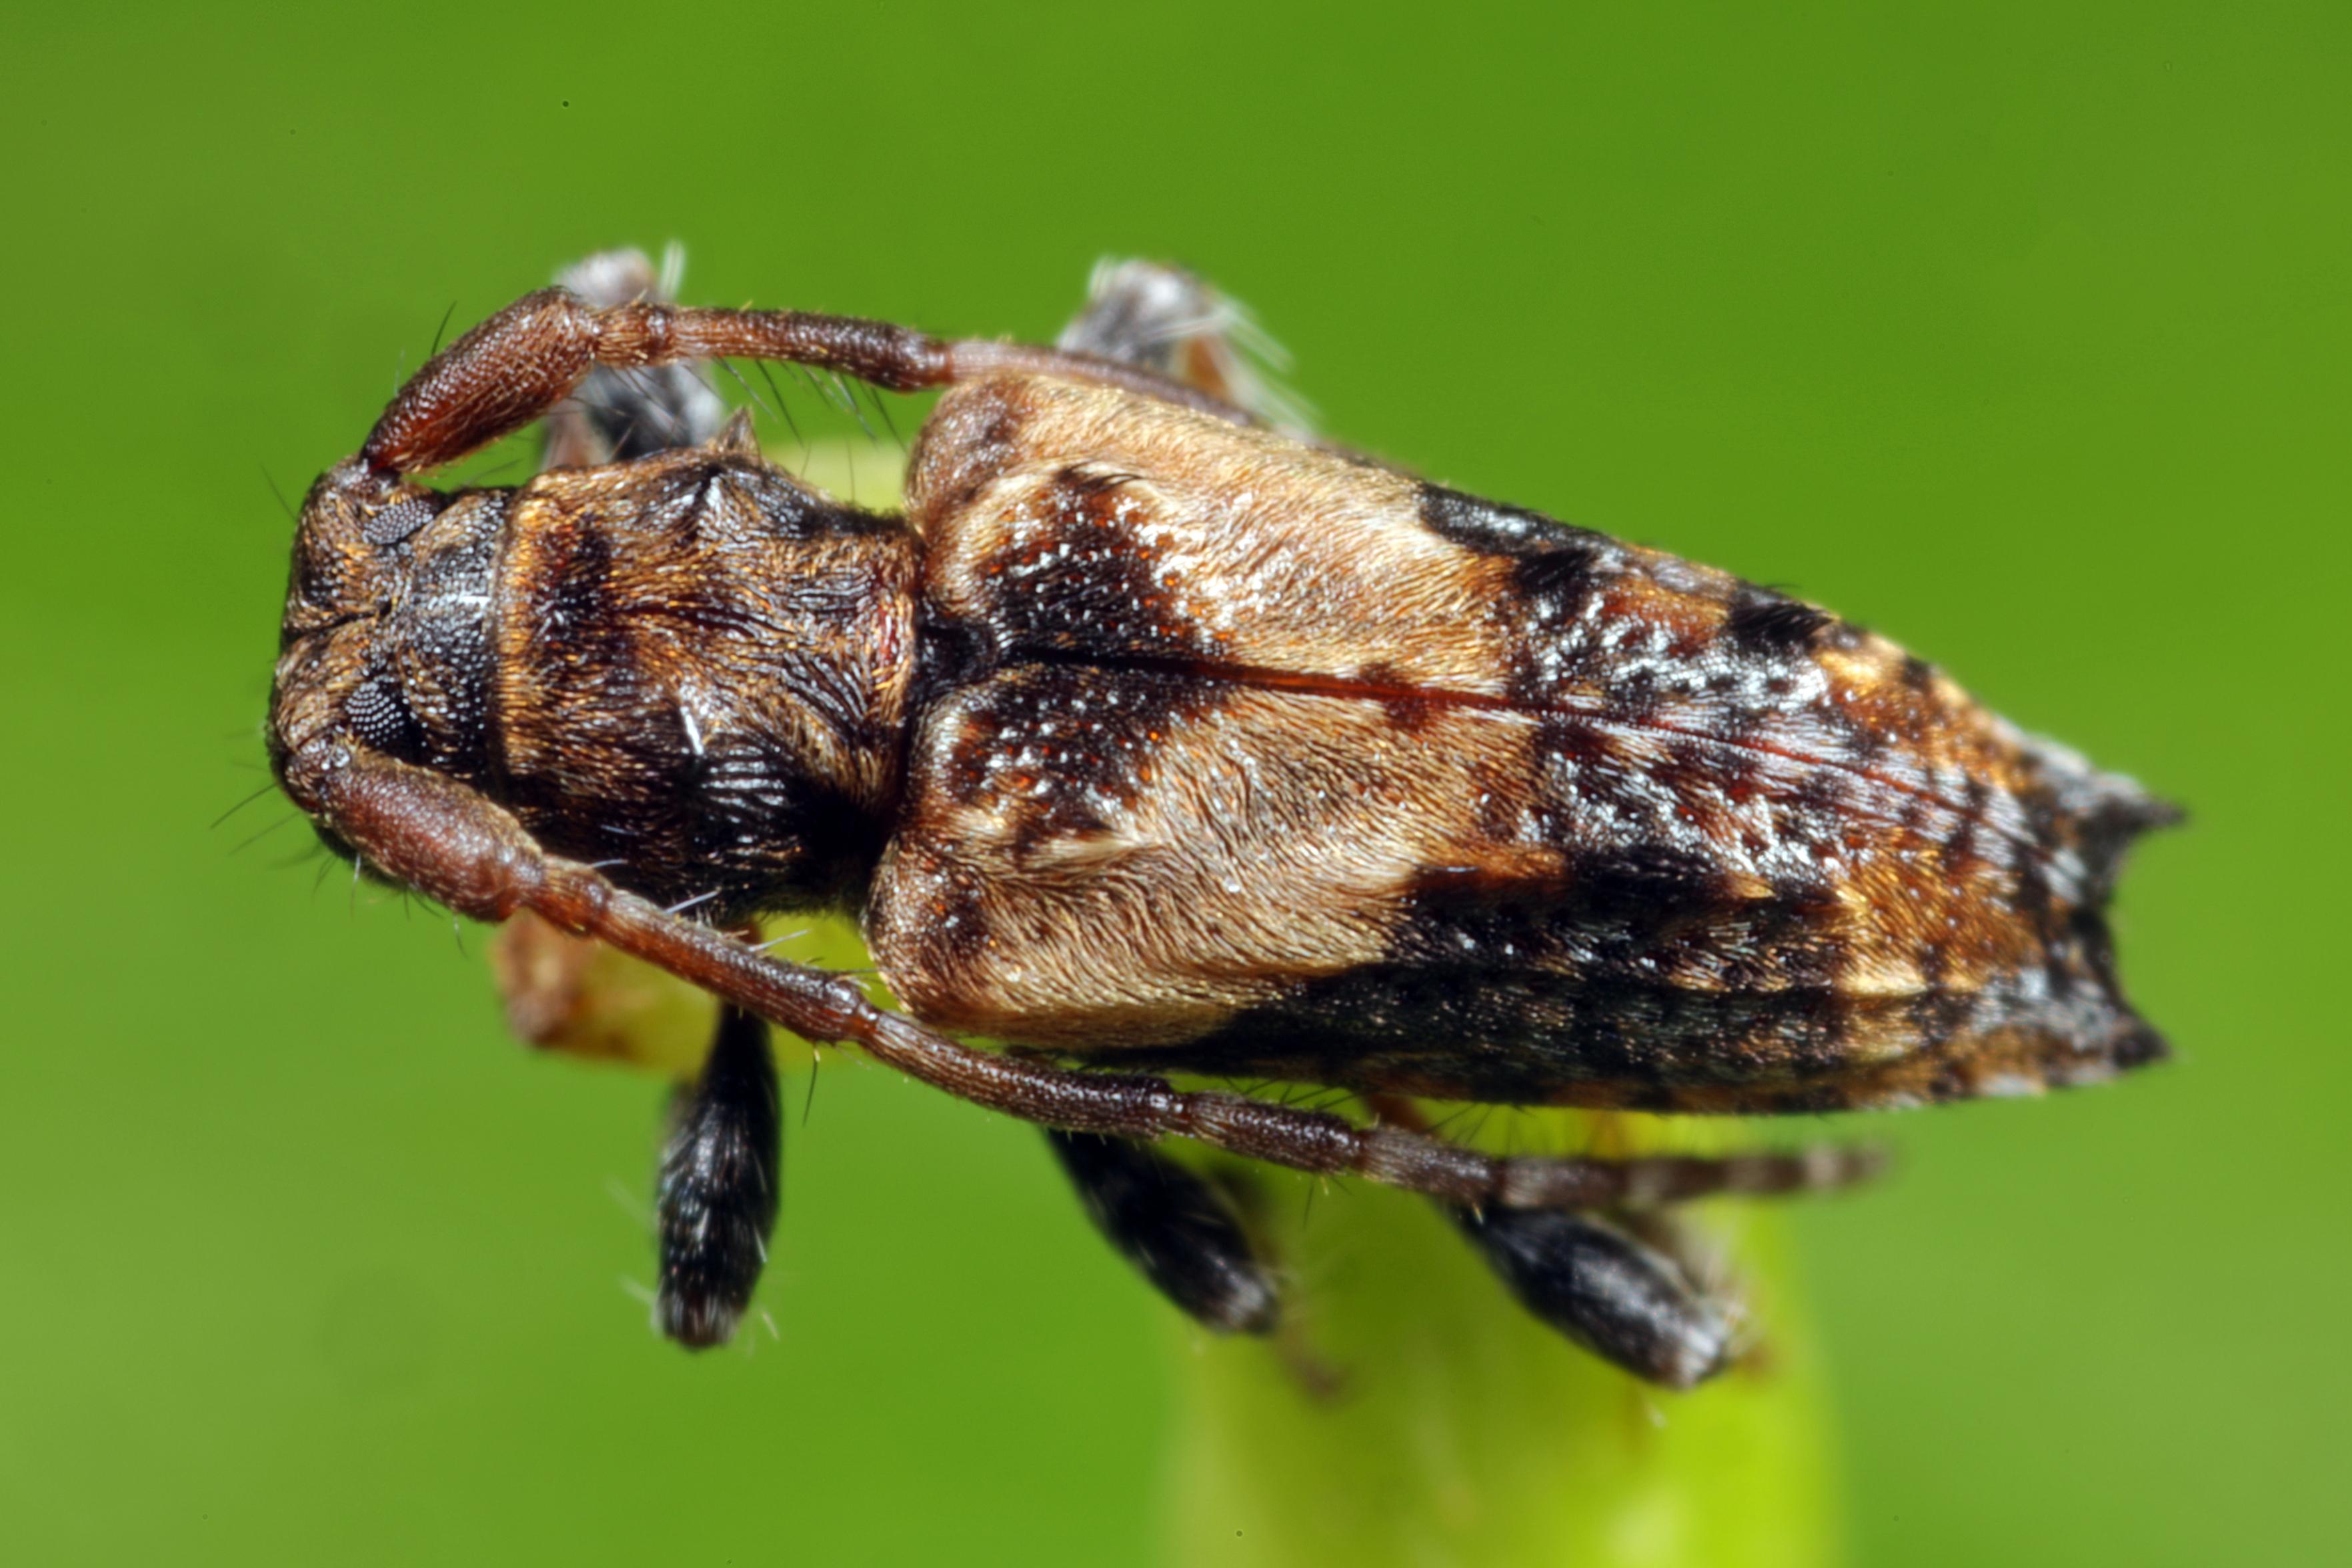
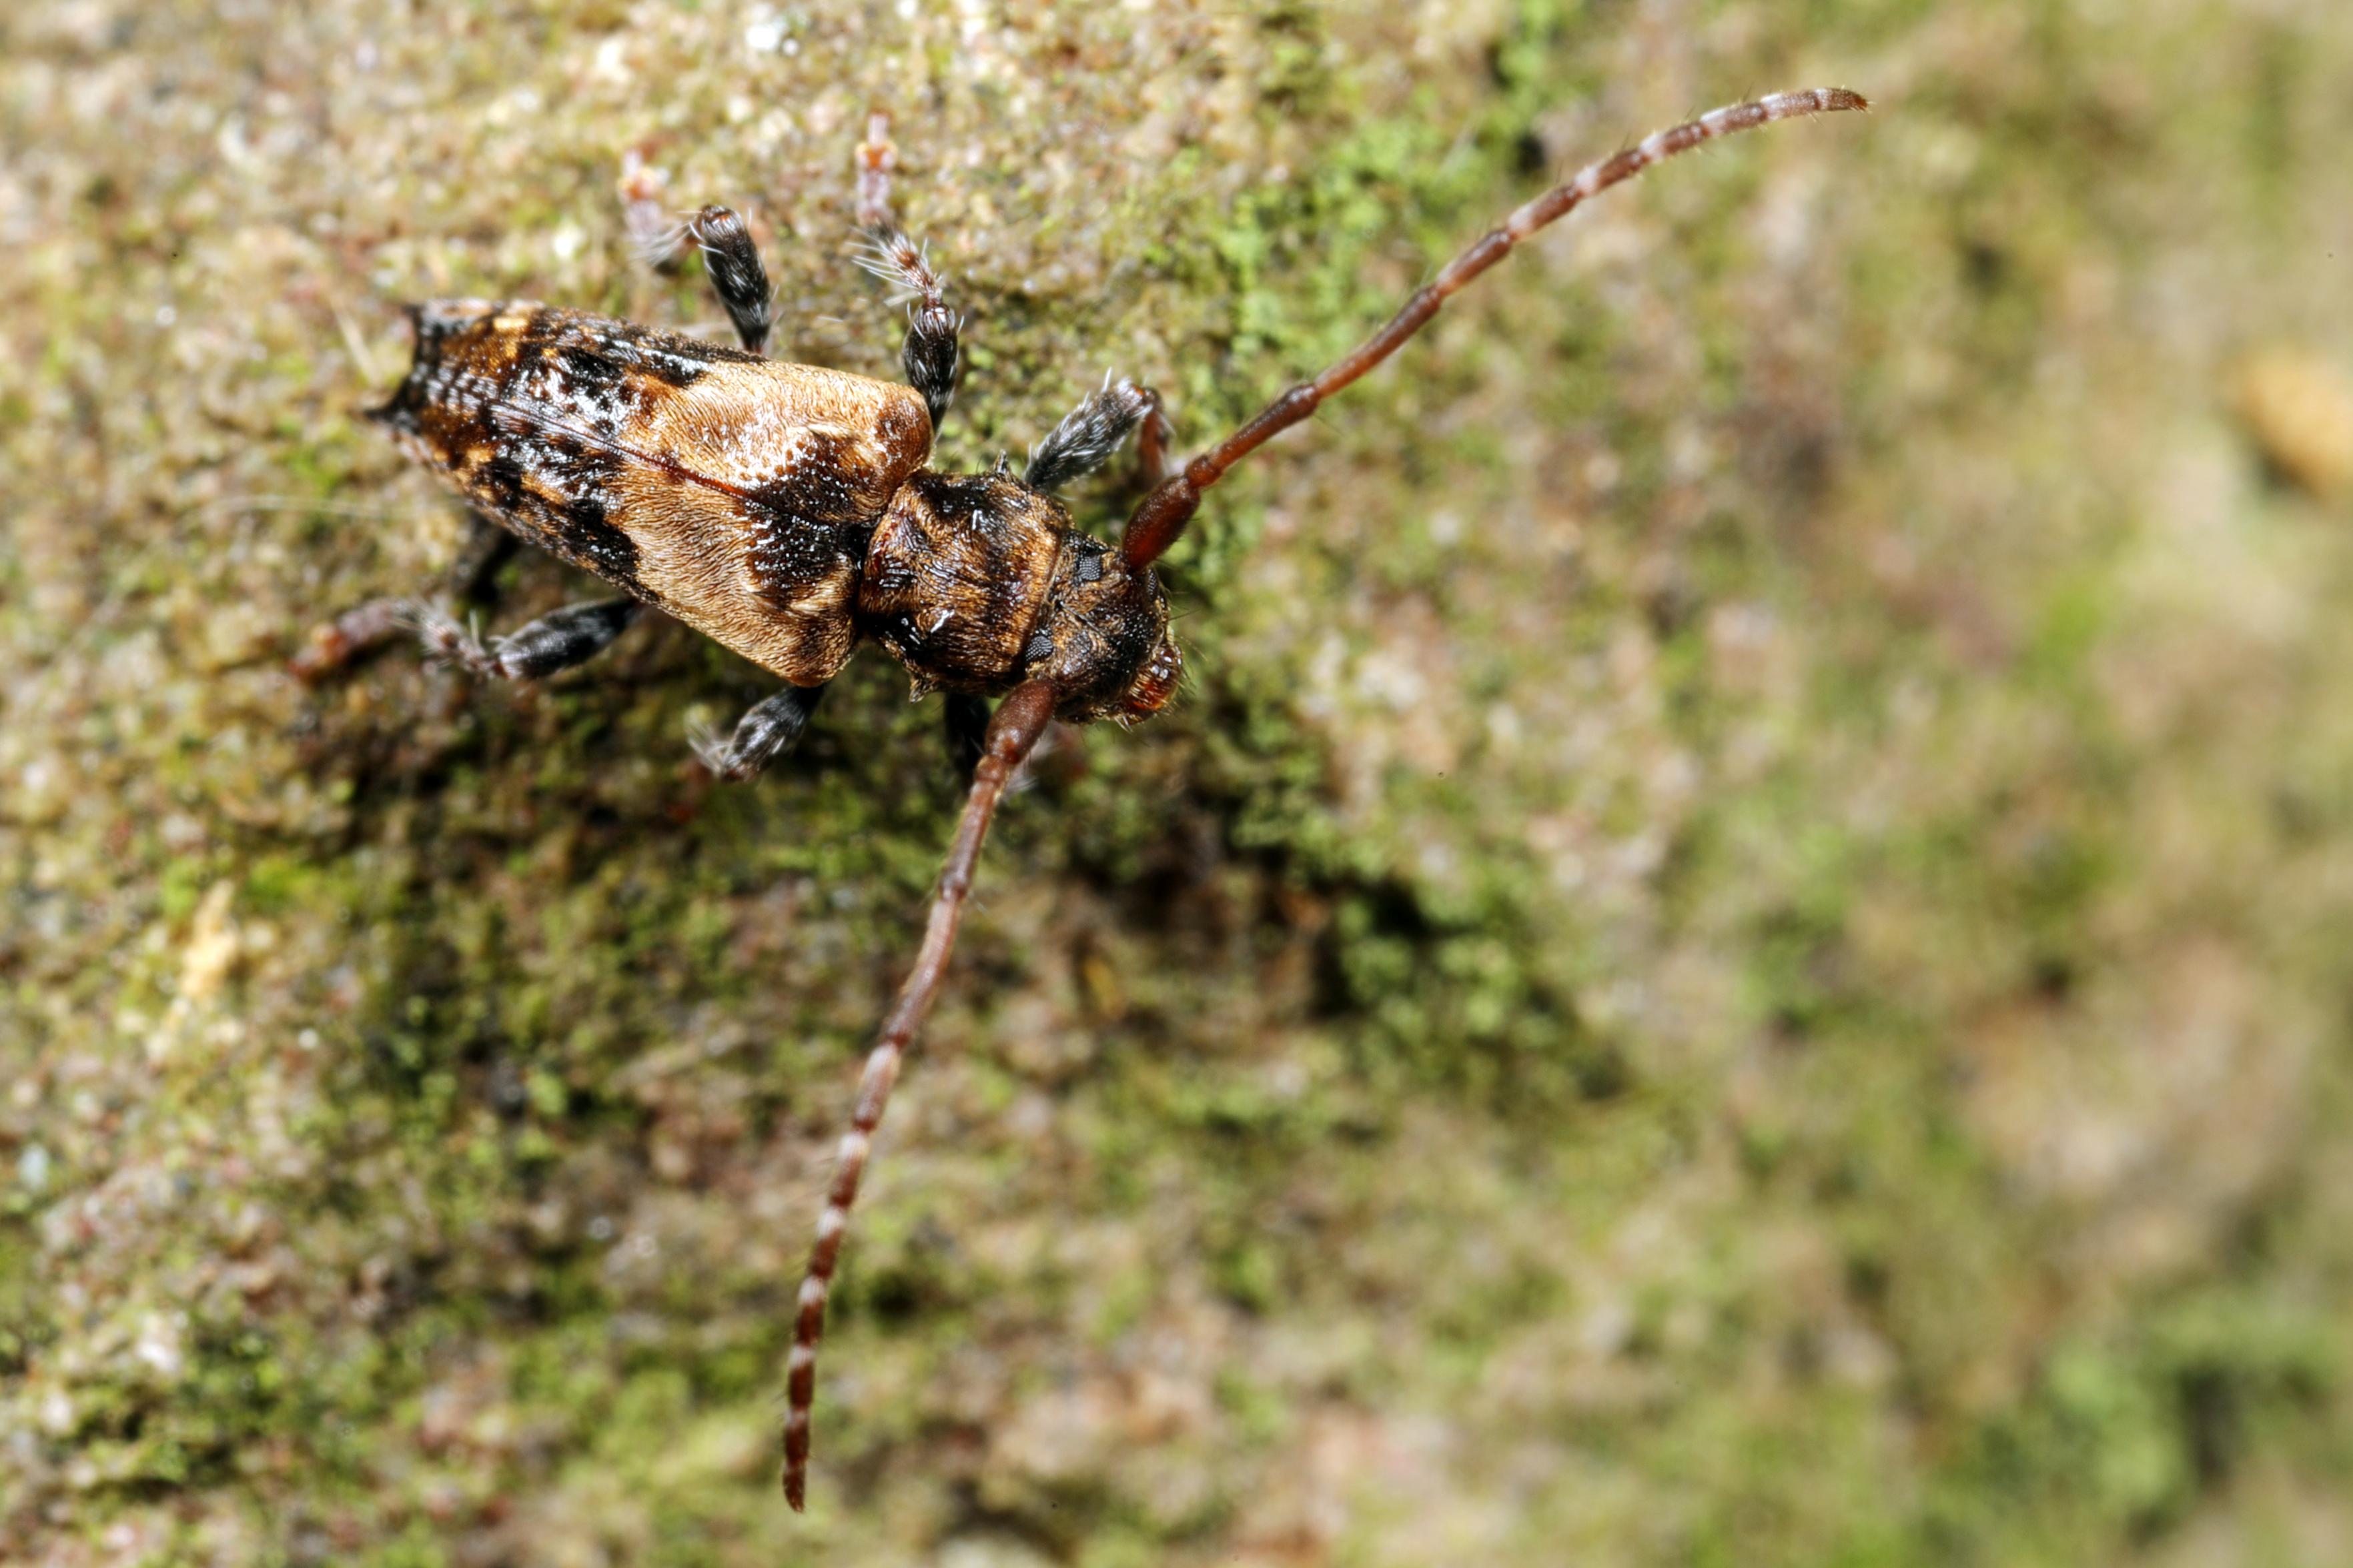
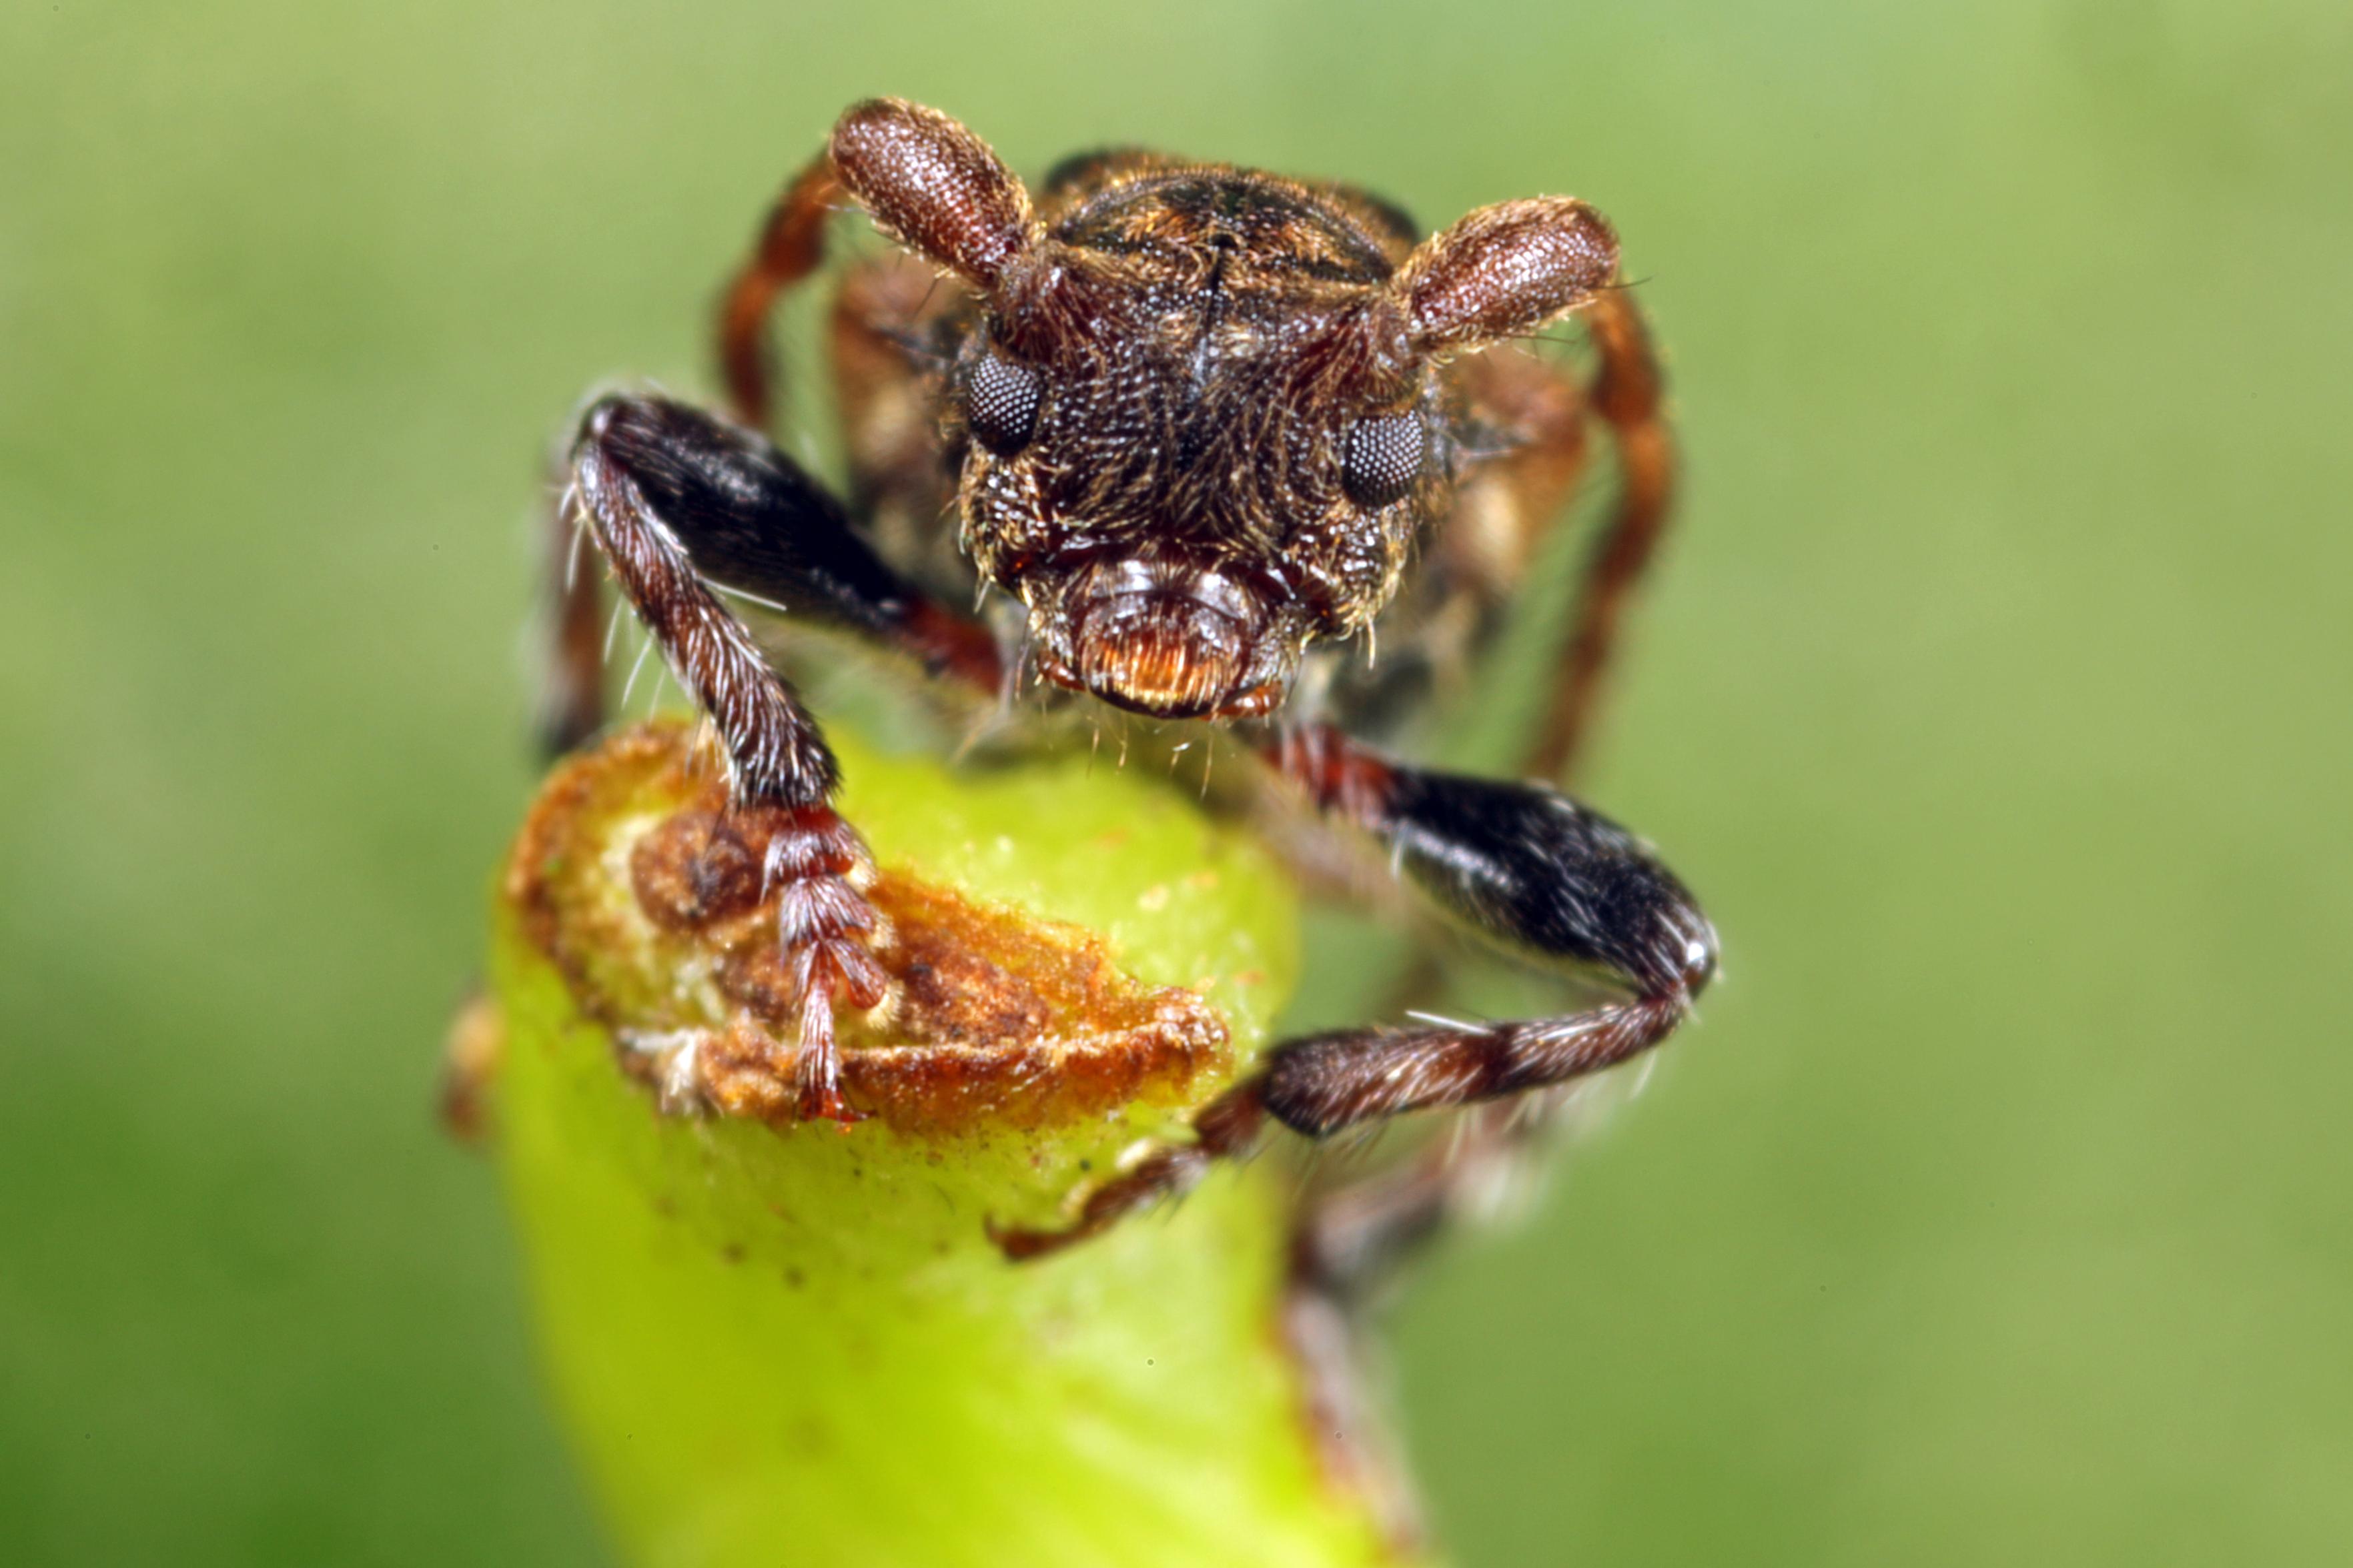
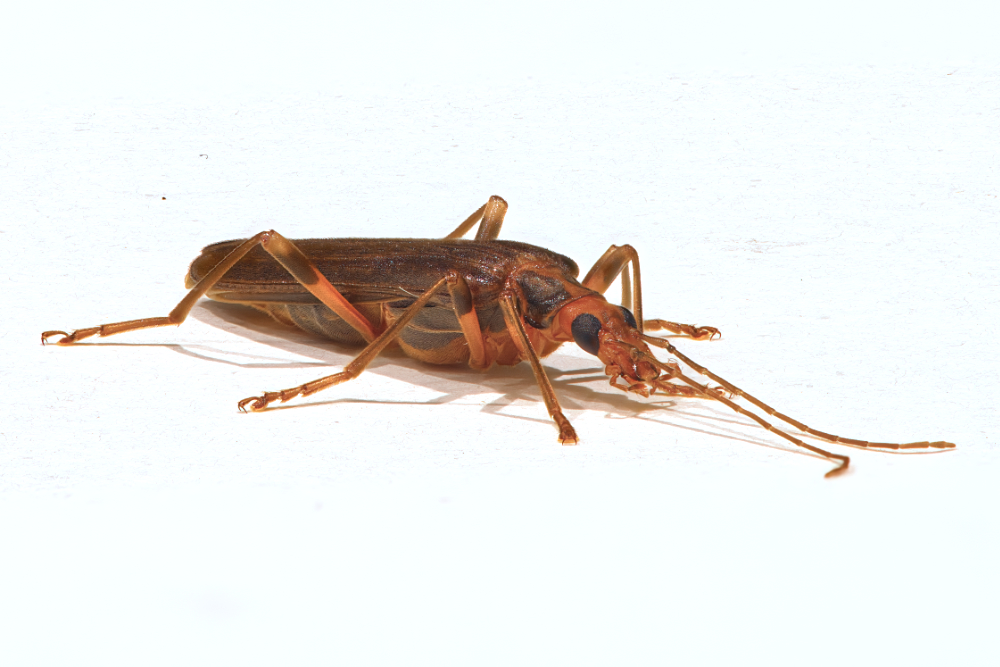
I captured (literally, it was on my patio window and I transferred it to some A4 white card) this blister beetle (Oedemera femoralis) yesterday. I ran about thirty frames at f6.3 and it seemed fine until I rendered it (in Affinity). The front segment of the left antenna was soft, having not been captured in any of the frames, despite having been selected as the front focus point.
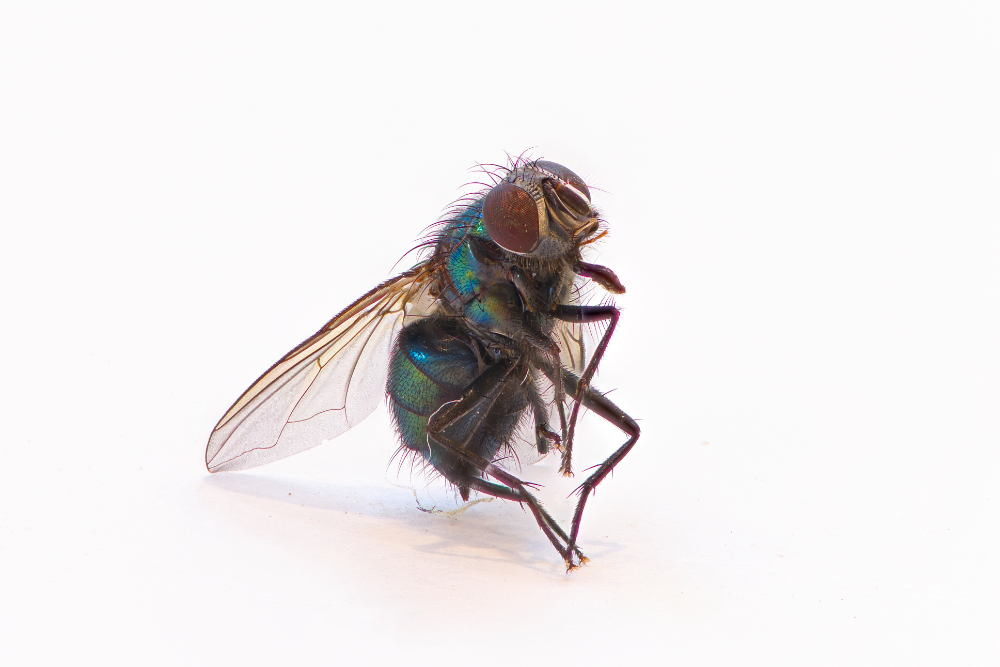
Today I came across a newly expired house fly (oh joy!) and decided to try something else. Now, I bet you’re reading this and going “how did it take him this long to work that out!”, but for some of you this might be a useful pointer. I am here to help. 😉
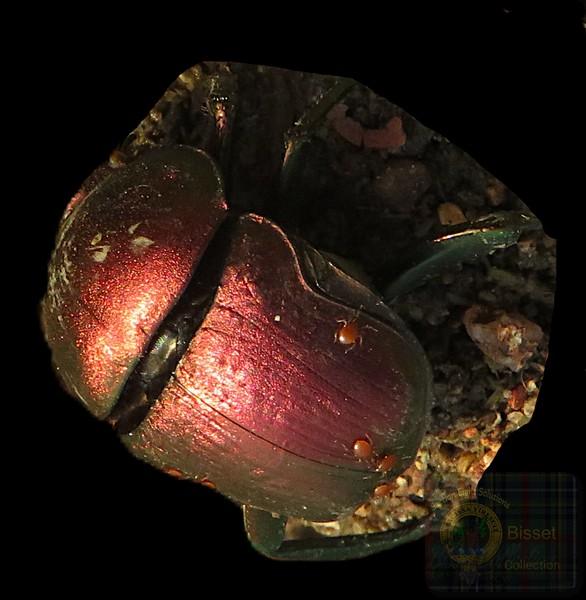
For the fly, I put a pencil dot on the white card, slightly in front of the closest part of the insect, and I focused the camera on that before firing off 100 frames, this time at f2.8. You can see every part of the fly is in focus, and if there are any soft spots they’re down to the merging in Affinity.
Not the most attractive of posts, today, but every part of nature is wonderful and wonder filled. If you look at these images up close (and remember these are only 1000 pixel long edge reductions) you’ll find so many details. And yes, I’ve erased the dot!
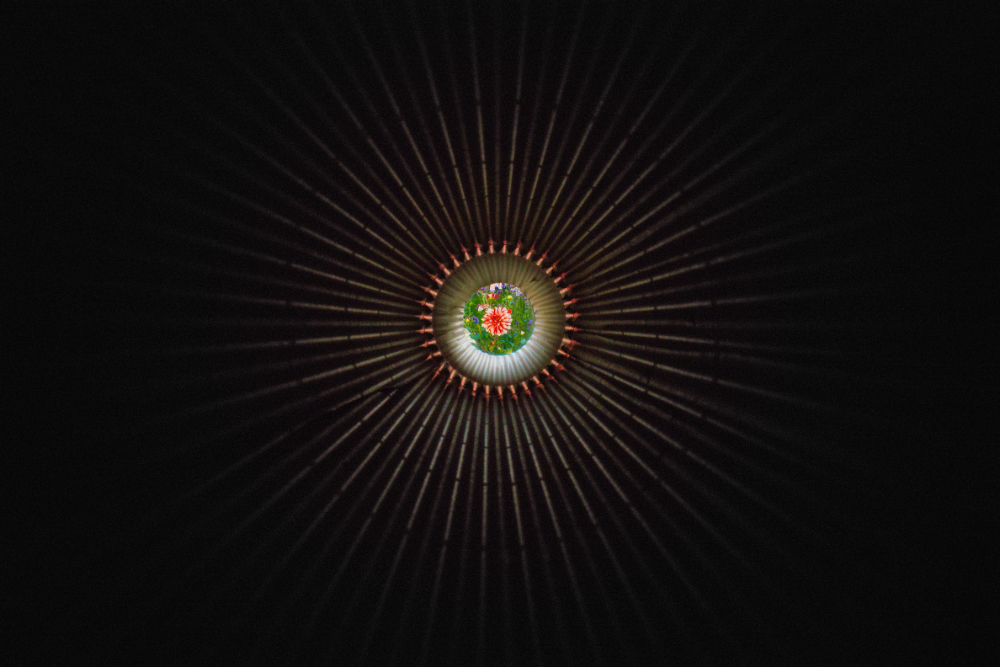
I’ll try to post something more conventionally beautiful next, promise. Like this – a shot down some corrugated cardboard, wrapped around a lens ball and looking at a dahlia in the back garden (image for the index shot, really).
#beetle #blisterBeetle #fly #focusStacking #hint #housefly #insect #macro #photography #tutorial